Preparing Your Garden Site
A well-prepared garden site ensures a strong start for a no-dig garden, making it easier to maintain soil health and establish reliable food security.
Planning for optimal access and taking the right first steps with the soil will help create lasting conditions for healthy plant growth.
Site Selection and Easy Access
Selecting the right garden location is essential for success with the no-dig method.
The area should receive at least 6-8 hours of direct sunlight per day; light shade is acceptable for crops like leafy greens.
Good drainage is important, so avoid low-lying or consistently soggy spots.
Easy access plays a key role in gardening efficiency.
Place paths at least 18-24 inches wide between no-dig beds to allow for wheelbarrow and foot traffic.
Paths can be mulched with wood chips or straw to suppress weeds and keep the area mud-free.
The chosen site should also be conveniently located near a water source to simplify irrigation.
Gardens close to the home or kitchen encourage regular observation and harvest.
If possible, position the site away from trees or large shrubs to minimize root competition for water and nutrients.
A nearby composting area helps with quick recycling of organic waste into valuable mulch and fertilizer.
Initial Soil Preparation
No-dig gardening reduces soil disturbance, so traditional tilling is not required.
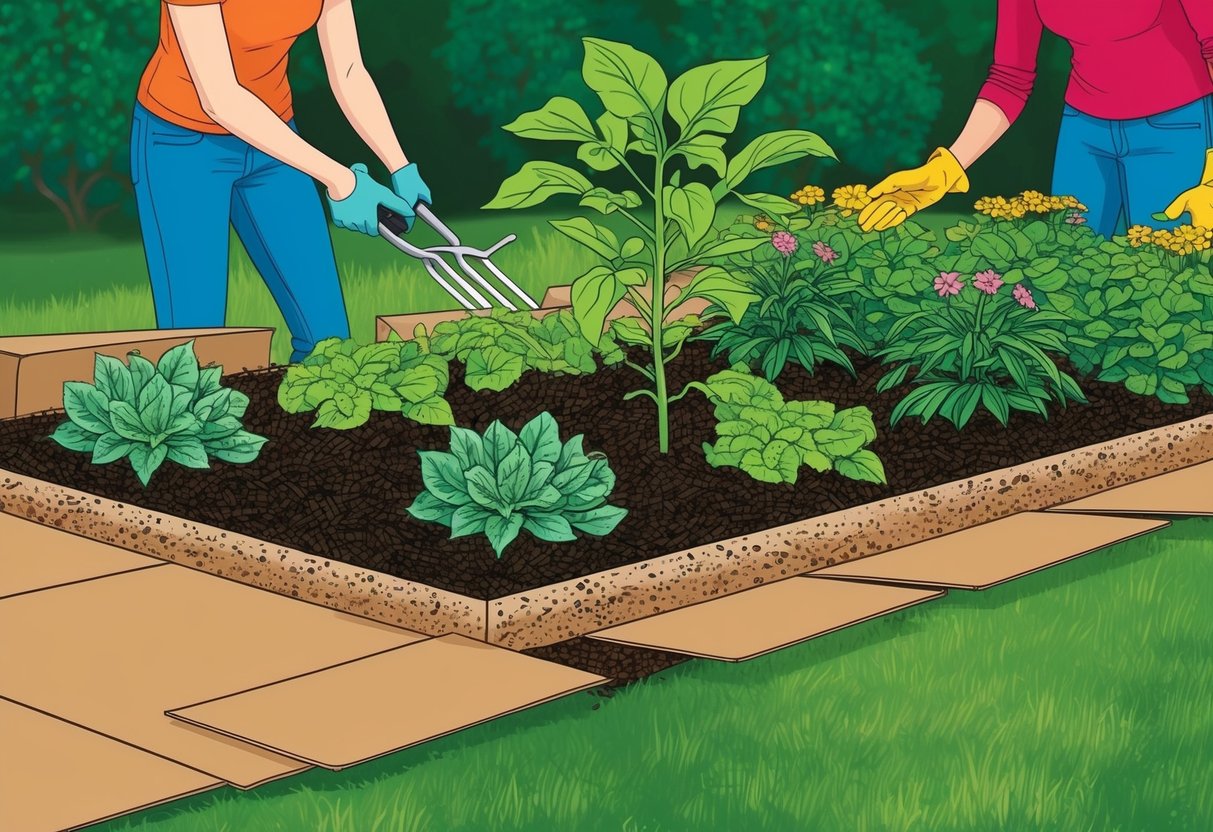
The first step is to suppress weeds and existing grass with a barrier of thick cardboard or newspaper.
Overlap the pieces to prevent gaps, making sure they are free from plastic or glossy coatings.
On top of the barrier, add a minimum of 4-6 inches of well-rotted compost, manure, or a blend of organic matter.
This layer feeds soil life, encourages rich microbial activity, and improves soil health over time.
Mulch should be spread evenly and can be topped off annually to maintain fertility.
If the underlying soil is heavily compacted, consider using a broadfork or garden fork to loosen—without turning—before applying the barrier.
For areas prone to pests or heavy weed pressure, lay extra-thick mulch at setup.
With no-dig methods, the focus is always on building up organic material to nourish both plants and the soil’s natural ecosystem.
Learn more about effective no-dig soil preparation and composting techniques.
Building Layers for Richer Soil
A no-dig garden bed is created by methodically layering compost, organic matter, well-rotted manure, and mulch.
This method boosts nutrient content, supports beneficial microbes, and results in healthier, more resilient plants.
Layering Compost and Organic Matter
Gardeners begin by spreading a generous layer of compost directly onto the soil’s surface.
This step introduces vital nutrients and beneficial microorganisms, kickstarting the process of building nutrient-rich soil.
Compost can be home-made or purchased, but well-aged and thoroughly broken-down material is best for immediate plant access.
Next, a variety of organic matter such as shredded leaves, grass clippings, and straw are added in alternating thin layers.
This mix increases soil fertility and improves structure by mimicking natural forest floors.
Layering materials with both high nitrogen (greens) and high carbon (browns) allows for steady breakdown and continuous release of nutrients.
Over time, these layers attract worms and other soil organisms, further enhancing soil health.
Consistent moisture and moderate temperatures will accelerate decomposition, making nutrients available for roots.
Using Well-Rotted Manure
Well-rotted manure is an essential addition when establishing a no-dig garden bed.
Fresh manure should be avoided, as it can introduce weed seeds and strong ammonia that harm plants.
Instead, manure that has broken down for at least six months provides nutrients without burning tender roots.
Manure adds organic matter and key minerals such as nitrogen, phosphorus, and potassium to the soil.
Applying a layer about 2-3 centimeters thick helps increase microbial activity and enhances moisture retention.
When adding manure, spread it evenly over the compost and organic matter layers.
Avoid clumping, which may cause uneven decomposition or odors.
After applying, lightly water the bed to help nutrients begin to filter down.
Adding Vegetable Scraps and Mulch
Adding finely chopped vegetable scraps helps boost microbial life and accelerates decomposition in the garden bed. Incorporate only disease-free, pesticide-free scraps, and avoid items like meats or dairy that can attract pests.
Vegetable scraps should be scattered thinly to prevent matting and to create an even distribution of nutrients. After spreading scraps, gardeners apply a protective layer of mulch, like straw, wood chips, or shredded bark.
This serves several purposes: retaining moisture, suppressing weeds, and insulating composting layers beneath. A mulch layer about 5-10 centimeters deep is optimal.
As it breaks down, the mulch transforms into rich humus, further feeding soil structure and plant health. For more guidance on no-dig layers, visit the guide on how to make a no-dig garden bed.