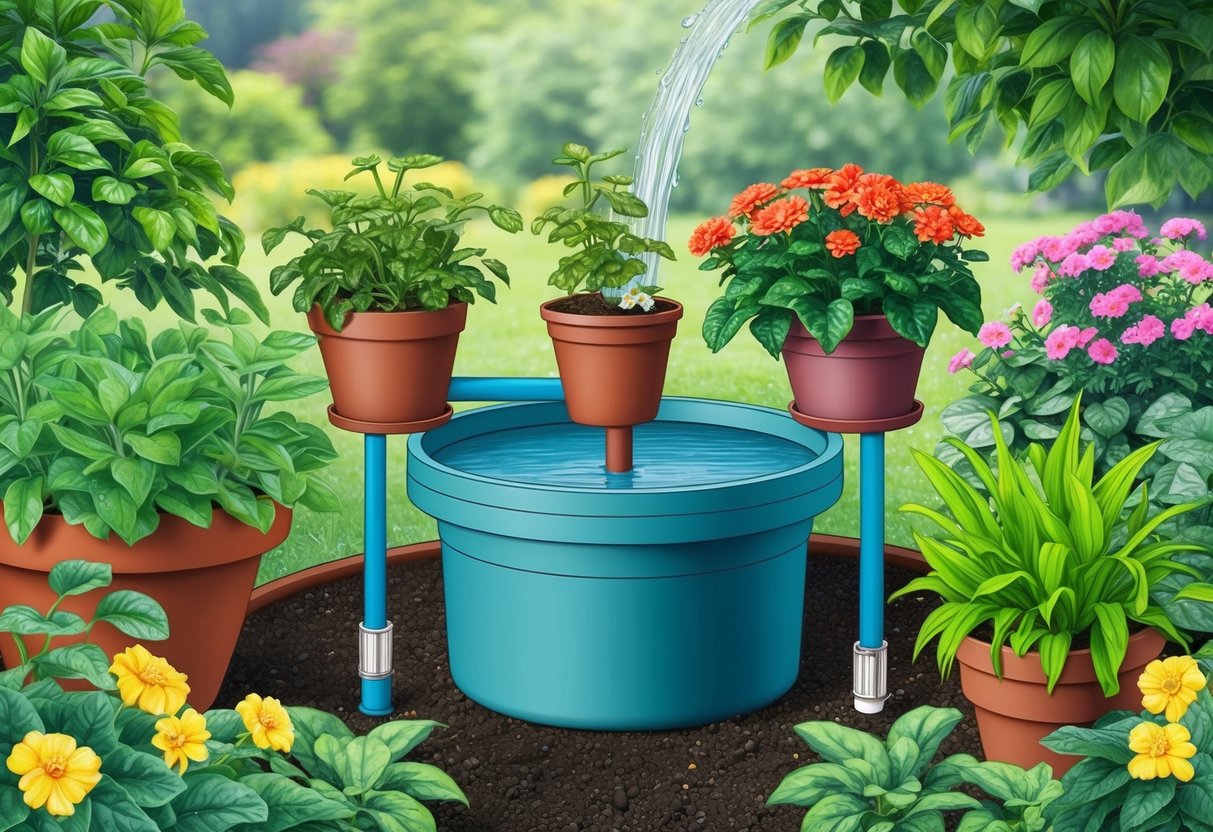
Assembling a Drip Irrigation System
A drip irrigation system streamlines watering by delivering moisture directly to the plant roots with precision. This reduces water waste, eliminates hand watering with a watering can, and keeps both raised beds and container gardens thriving with less manual effort.
Installing Tubes and Emitters
Begin by laying out the main supply tube along the length of the garden bed or around plant containers. Choose tubes made from UV-resistant polyethylene for durability in outdoor environments.
Secure the tubing in place using stakes or clamps. Ensure it follows the root zones where water is needed most.
Next, install drip emitters at intervals based on plant spacing. Emitters come in different flow rates, typically from 0.5 to 2 gallons per hour.
Puncture the main tube with a hole punch and insert each emitter firmly to prevent leaks. Drip lines with integrated emitters can simplify this process, especially for gardens with uniform plant spacing.
For custom configurations, use barbed fittings or connectors to branch tubing into multiple sections. Cover any exposed areas to prevent accidental damage and ensure easy access for maintenance.
Connecting to Water Sources
Attach the drip irrigation system to a nearby outdoor faucet or rain barrel. Use a backflow preventer to keep water supplies clean, especially if connecting to potable water.
Install a simple filter before the tubing inlet to prevent clogging from debris, which is a common cause of emitter blockage. Pressure regulators are important for maintaining optimal flow and preventing tube damage, particularly on high-pressure municipal lines.
Connectors or adapters may be necessary depending on the diameter of the source tap and supply tube. For those seeking automation, adding a timer at the faucet ensures the system waters on a consistent schedule.
Before turning on the water, double-check all connections for tightness and security. If using a rain barrel, ensure it is elevated to provide adequate pressure.
Testing Flow Rates
Test each zone by turning on the water and observing the emitters. Verify that every emitter releases water at a steady pace without drips or pooling.
For precise calibration, place a measuring cup under an emitter for one hour to confirm it matches the labeled flow rate, such as 1 gallon per hour. Walk along the tubing to check for leaks, loose connections, or blocked emitters.
If water fails to reach the end of the line, inspect for kinks or clogs and flush the tubing with clean water as needed. Fine-tuning emitter placement and adjusting pressure may be required to ensure uniform coverage for all plants.
Regularly recheck flow rates, especially during hot weather or after introducing new plants. For step-by-step visual guidance, refer to this comprehensive YouTube guide on installation.
Setting Up Self-Watering Containers and Pots
Selecting suitable self-watering containers and installing an efficient watering mechanism ensures consistent soil moisture for healthy plant growth. Attention to size, material, and the reservoir system will help prevent overwatering, minimize root rot, and support strong root development.
Choosing Container Size and Material
When setting up self-watering pots, container size matters for both root growth and water capacity. Smaller pots dry out more quickly and need more frequent reservoir refills.
Larger self-watering containers allow for deeper roots and store more water, working well for tomatoes, peppers, or larger foliage plants. Common container materials include plastic, ceramic, and terracotta.
Plastic is lightweight, less likely to crack, and typically retains moisture better. Ceramic containers are often decorative but heavier and breakable.
Terracotta is porous, which may lead to faster water loss and is not ideal for sub-irrigated systems. For outdoor use, ensure the material can withstand temperature changes and UV exposure.
Containers should have a removable insert or double-layer design to separate the water reservoir from the plant’s root zone. This ensures roots have access to oxygen and prevents constant soil saturation.
Adding Reservoirs and Wicks
A core feature of self-watering pots is the reservoir, which holds water for slow, gradual delivery to plant roots. Most setups use a sub-irrigated structure where a lower chamber houses water and an overflow hole regulates the maximum water level.
This design helps protect against overwatering and root rot. For reliable results, drill an overflow hole 10–12 cm above the base if one isn’t present.
Wicks, usually made of cotton rope or capillary matting, transfer water from the reservoir to the soil above. Place the wick so that one end rests in the water and the other is buried in the soil near the root zone.
This approach uses capillary action to keep soil moisture consistent. Balancing reservoir capacity and wick thickness is crucial.
A reservoir that is too large may lead to stagnant water and root problems. A wick that is too thin can leave soil dry.
To learn more about creating a genuinely effective sub-irrigated system, see this detailed guide on building self-watering containers.