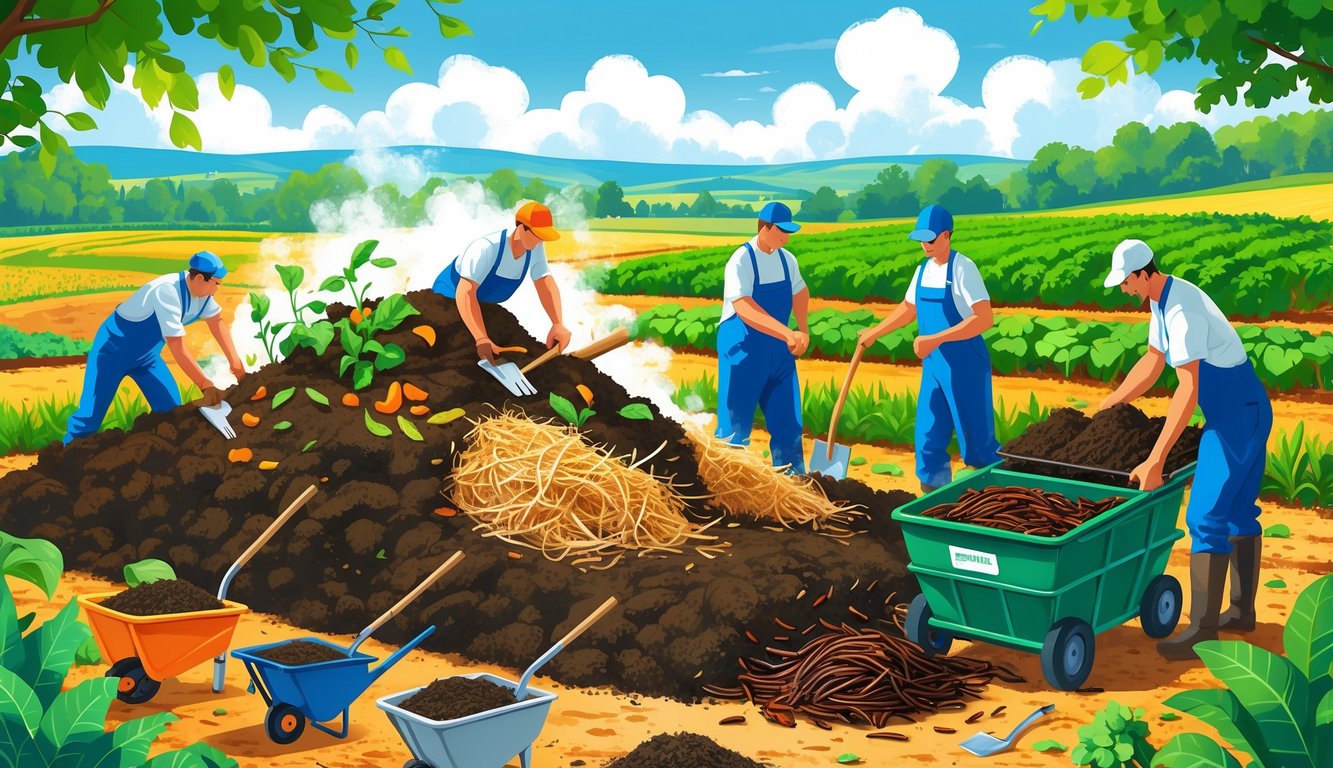
Cold Composting: The Low-Maintenance Approach
Toss kitchen scraps and garden waste in a bin, walk away, and maybe—just maybe—next year you’ll have something usable. Cold composting sounds easy, but nobody warns you about the parade of critters. Rats, raccoons, the neighbor’s dog—everyone wants in.
I suspect most cold piles are just hot piles that got abandoned. And that’s fine! Less work. Downside? You might be spreading weed seeds and plant diseases, since cold piles never get hot enough to kill them. Takes forever, but if you’re patient and don’t mind a little mess, it works. Sort of. If you even half-balance greens and browns, you’ll get something usable.
Best trick? Slap a layer of cardboard on top to keep pests out and hold in moisture. Changed my life. Why isn’t this in more composting guides?
Lasagna Composting and Layering Techniques
Marsha next door claims she invented lasagna composting. She didn’t, but she’ll explain it to anyone. It’s just stacking browns and greens—leaves, straw, cardboard, then grass, kitchen scraps, manure, whatever. Supposed to be foolproof, but I’ve built beds that turned into nasty, smelly cakes instead of fluffy compost.
Nobody tells you: moisture is everything. Too dry, it just sits there. Too wet, it reeks. You want layers, not soup. When it actually works, you can plant right in the bed—no digging. Some farms layer their field edges this way and skip hauling compost. Just chop up the big stuff, or you’ll regret it next season when you dig up a whole corncob.
If you’re thinking of going this route, ignore anyone who says “just stack it and wait.” You need to pay attention to moisture and actually know what counts as brown or green. Not every weed is a green, by the way.
Trench and Pit Composting Methods
Digging holes isn’t my idea of a good time, but trench and pit composting makes sense if you want to do the work once and forget about it. Chuck kitchen scraps in a trench or pit, cover with dirt, and walk away. I do this in winter, and by spring, the beds are weirdly productive (maybe too productive?).
Nobody talks about the backache or the fact that rodents sometimes eat half your carrots. Still, if you hate visible piles or have nosy neighbors, this works. Iowa State (yeah, the ag school) says it cuts down on stink and flies—just because the dirt covers everything.
Mark your trenches, or you’ll dig into a mystery goop later. And if you’ve got clay soil, good luck. Sometimes I think my shovel is just for show.
Getting Started: Setting Up Your Compost System
Nobody warned me how fast you run out of space (or patience) just piling scraps in a corner. Ever seen a line of ants marching away with your banana peels? Size, airflow, and what you build the bin out of matter way more than Pinterest ever admits. Only insulated bins actually keep things cooking through winter—everything else just freezes into a science experiment.
DIY Compost Bin Projects
So, I basically jammed some pallets together behind the shed—fully expecting disaster. Nope, it actually worked. A DIY compost bin made out of random untreated wood, leftover chicken wire, or those ugly cinderblocks? That’ll get hot enough to break stuff down, if you don’t totally botch the layers. Browns and greens, whatever ratio you remember on a random Tuesday—supposed to be three parts carbon-rich browns to one part nitrogen greens, but I never measure. Most of the farmers I pestered swear by bins around 3×3 feet. Anything smaller dries up and dies, anything bigger is back-breaking.
My neighbor, who’s got more opinions than sense, told me to drill holes in plastic bins or it turns into some kind of swamp stew. She’s not wrong. I’ve thrown in grass, eggshells, shredded cardboard, and, uh, some rice that was already growing its own civilization. If it reeks? Just dump in more leaves or paper or whatever you’ve got. Most guides—like this one—say you need a shady spot that isn’t right up against your veggies. Mine’s basically hugging the tomatoes, but hey, at least I can flip it without hiking across the yard.
Using Compost Tumblers and Bins
My first tumbler was supposed to be my lazy hack—no pitchfork, no mess, just spin it like you’re making a weird salad. In reality? Tumblers heat up quick, sure, and critters can’t get in. But wow, I had to dump in water constantly or it turned into a dry brick. It’s a circus act: keep it moist, let it breathe, spin it often, and hope for the best.
Those basic plastic or metal bins? They’re fine if you want to ignore things for weeks. But don’t expect speed unless you go full lasagna mode—six inches brown, two inches green, repeat, like Epic Gardening keeps shouting. Aeration holes help avoid that rotten egg horror. If you cram it full of pizza boxes, don’t blame me when it stops working. Breaking stuff down first actually matters.
Insulated Hot Bins for Year-Round Success
I used to think winter composting was a joke. Then my pile froze into a block and I caved—bought an insulated hot bin. Those things are bizarrely good. Thick foam walls keep it over 100°F even when I can’t feel my toes. You’ve gotta chop scraps small or it just sits there, mocking you.
Nursery folks go on and on about year-round piles killing off diseases, especially if you’re tossing in chicken bedding or the sketchier kitchen scraps. These bins cost way more than I’d like to admit—definitely not a weekend DIY. Still, when you open the lid in January and see steam? Feels like you’re breaking the laws of gardening. Some guides say bigger is better, like five to seven feet wide, but let’s be real, nobody’s backyard is that big.